Page 1 of 2
Lancelot Orchid by Jens-Helge Dahmen
Posted: May 1st, 2010, 8:31 pm
by pohchunyee
Hi Guys,
I found this crease pattern of an orchid. I am so confused with the crease pattern since it doesn't show mountain/valley folds. If anyone could come out with a diagram, it would be a great help for me! THANKS
Here is the link to the crease pattern.
http://www.freewebs.com/faltkunst/Blume ... ee-www.pdf
-pohchunyee-
Posted: May 2nd, 2010, 2:22 am
by paperlion
Well, I can easily make it show the mountain valley pattern, and/or make a photo guide. I think making complete diagrams would be copyright infringement? So, would any of the first two work?
Edit: I can also provide reference points.
Posted: May 2nd, 2010, 5:03 am
by pohchunyee
It would be great if you could do a photo guide cos I am bad with crease pattern!
Posted: May 2nd, 2010, 2:25 pm
by paperlion
Great! Now I'll have something to work on over the week end.... I can get awfully bored.
Posted: May 4th, 2010, 4:57 am
by pohchunyee
I cant wait... thank you so much!!!
Posted: May 15th, 2010, 1:02 pm
by paperlion
Sorry for a LONG wait, but they'll probably be up tonight.
Posted: May 15th, 2010, 4:04 pm
by pohchunyee
I can't wait!!! THank you!!!
Posted: May 16th, 2010, 8:29 am
by Origamist388
This is actually the first CP where I immidiately see the M and V folds
Posted: May 16th, 2010, 1:02 pm
by paperlion
Yeah, the references are easy, too. Just the shaping is a little tricky.
Posted: May 20th, 2010, 4:22 am
by pohchunyee
I am at a different level from you guys!
Posted: May 23rd, 2010, 5:22 pm
by paperlion
Here we are...
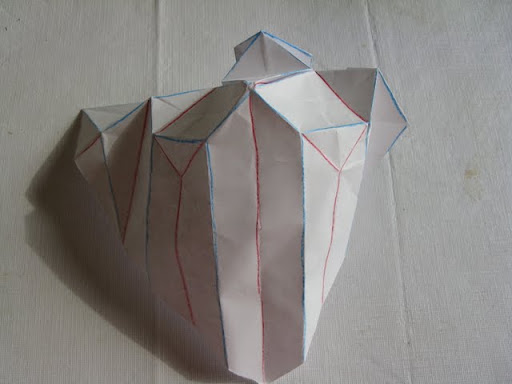
This is the basic pattern, 2 different shots. Blue lines are mountain folds, and red lines are valley.
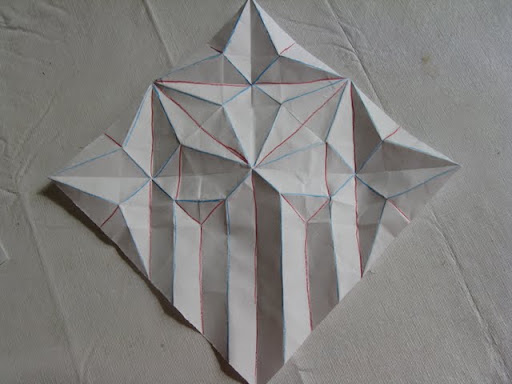
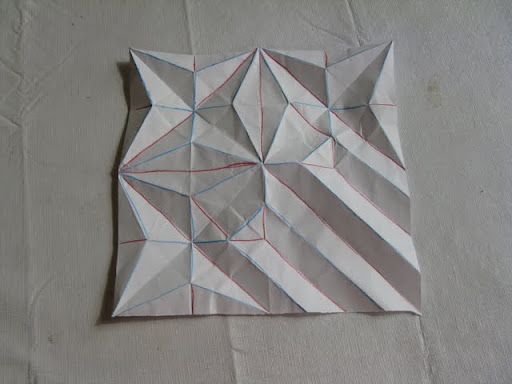
Now start the collapse. Fold the bird base in the uppermost corner, keeping the far flap sticking down.
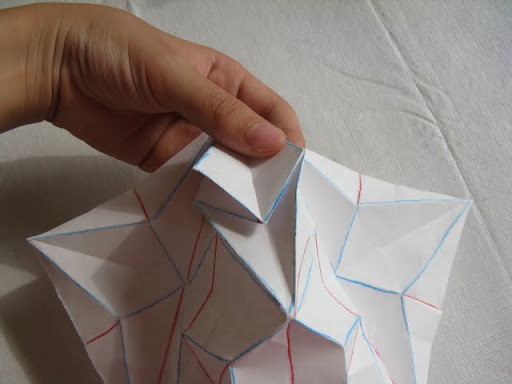
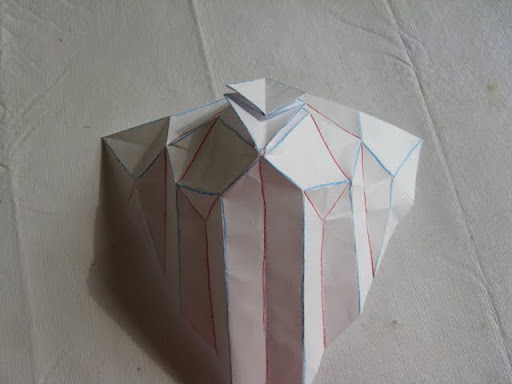
Now start on the side bird bases. They are not complete bird bases, and you'll have to do the sink almost simultaneously to be able to flatten it.
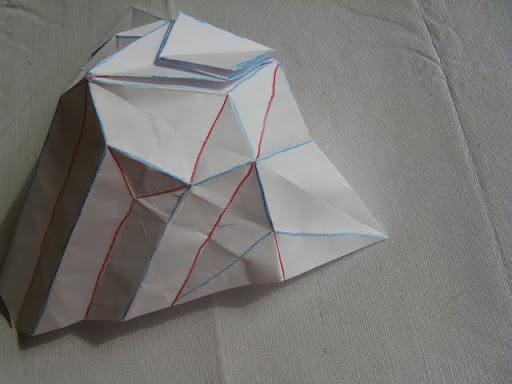
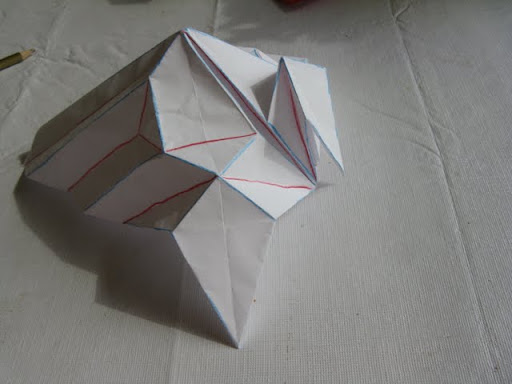
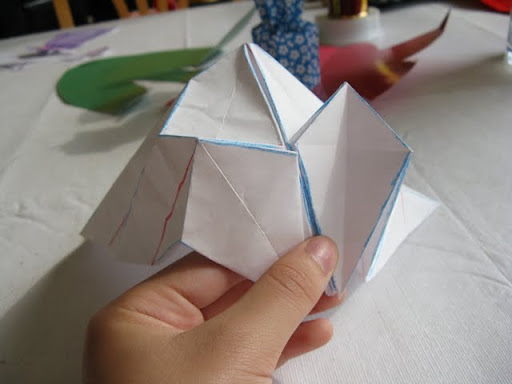
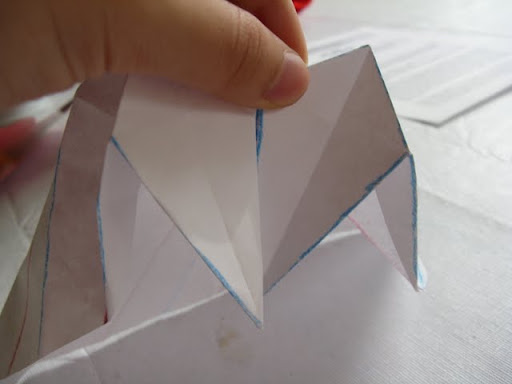
Once you've done the bases on either side, you must sink those areas on the lower quadrant.
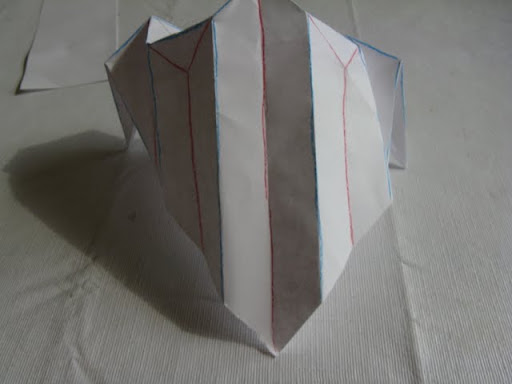
This is the view from behind. (facing the first bird base we formed.)
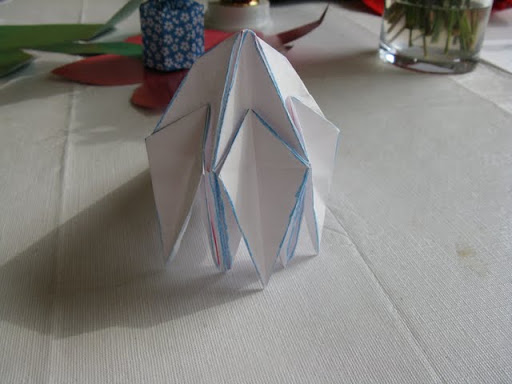
This is were we have to sink the paper.
Beggining Sink:
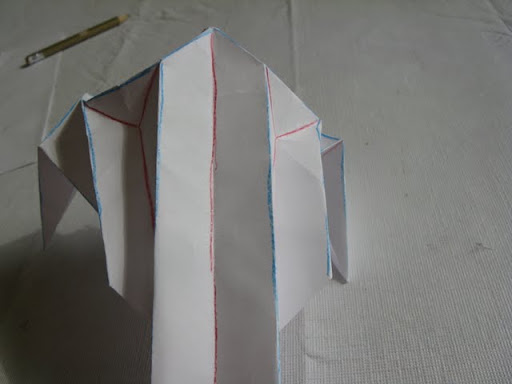
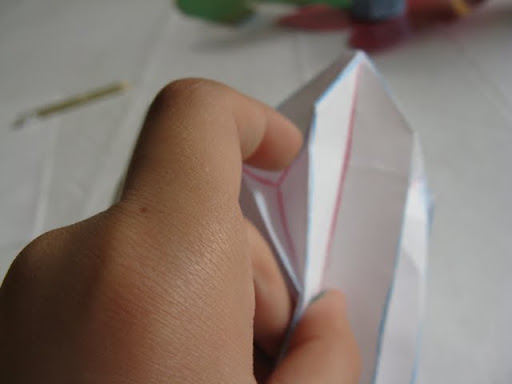
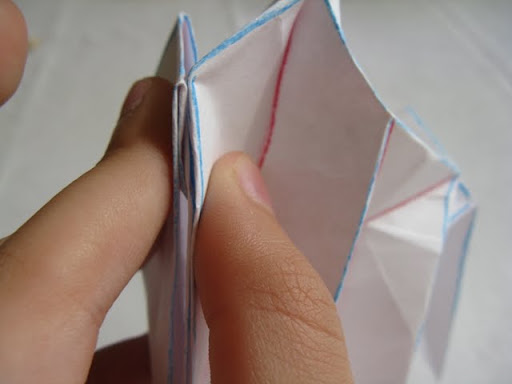
Repeat the sink on the other side, and...
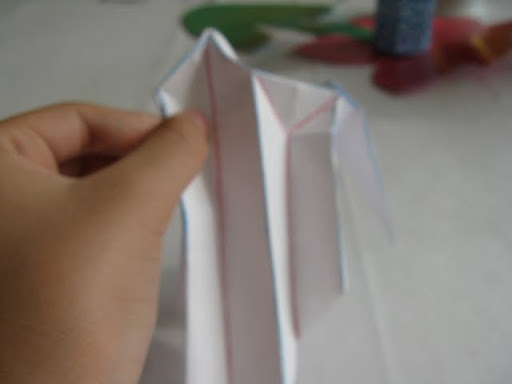
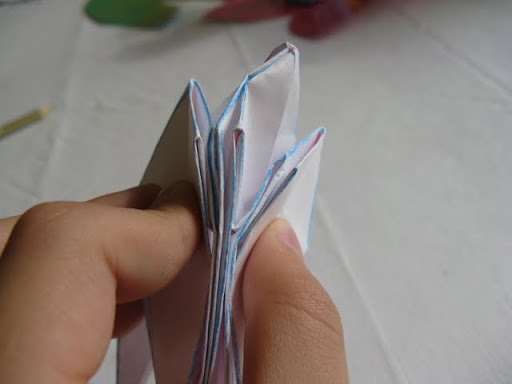
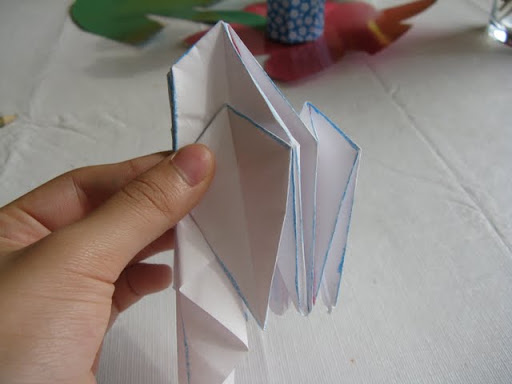
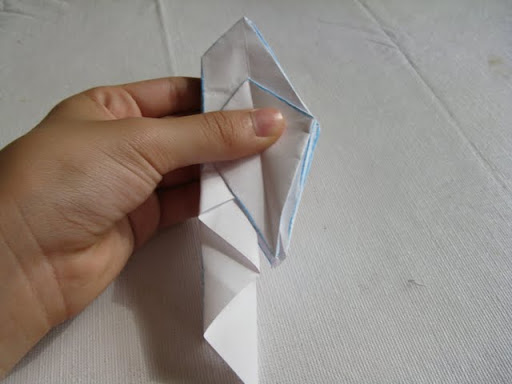
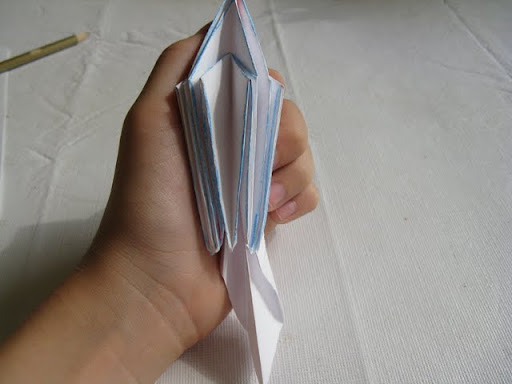
The shaping is easy. Just spread the layers of the sink, making angled folds, slightly curved, and curve it in and out as shown in the original picture. Fan out those five flaps on the side, and curve them inward slightly. Shape the rest till you're content.
Posted: May 24th, 2010, 5:59 am
by pohchunyee
So I get to the end! But I am confused with the shaping part. How is the column come into the picture? Do you fold the back inside out?


Posted: June 8th, 2010, 4:02 pm
by Pixion
I folded this yesterday, so its pretty fresh in my mind.
The column comes from the center point, which Paperlion probably oversaw. Look at the CP and note how prior to collapsing the box pleats a triangle is folded over that sticks out of the front.
I don't have acces to the model and a camera, but if you want I can post some pictures tonight.
Anyway, with Paperlions generous help, you are probably able to solve it yourself (you will feel better solving it yourself anyway...)
Posted: June 8th, 2010, 9:21 pm
by pohchunyee
I really don't get this.. So lost!
Posted: June 12th, 2010, 3:31 am
by Pixion


Hope this helps a bit. 'Saule', the central point (which has been omitted in the photostream from Paperlion) may translate to stem. In that case, it should not stick out in front but in the back.
You can accomplish this by just folding it the other way prior to the box pleating of the bottom part.
I like it sticking out in front as it forms another orchid detail (which may not be present in a real orchid...).

Leaf. Any shaping left to you!